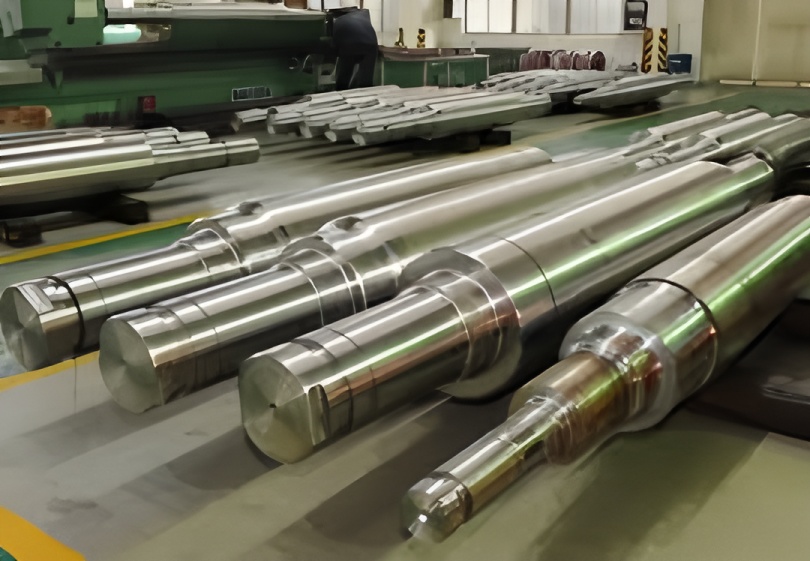
Forged Steel Cold Rolled Work Rolls: Q&A
What tests are involved in the manufacturing process of mill rolls?
During manufacturing, rolls undergo multiple hot and cold processing stages. The required inspections include:
Dimensional, geometric, and surface quality checks at each machining stage;
Non-destructive testing: ultrasonic testing (surface wave and radial), dye penetrant, magnetic particle, and eddy current inspection;
Macro- and micro-structural examination: acid etch tests, metallographic analysis;
Mechanical property testing;
Chemical composition analysis;
Hardness testing.
What is macro and micro examination of mill rolls?
Micro-examination involves sampling the roll blank, preparing a metallographic specimen, and observing—under magnification—the microstructure in both corroded and uncorroded conditions, per standard requirements.
This assesses: inclusion ratings, carbide network severity, carbide liquidity, quenched grain size, banding, and other structural features.
Macro-examination entails sampling the roll or blank, polishing and etching the surface, then inspecting with the naked eye or a magnifying glass to identify defects such as segregation, porosity, inclusions, shrinkage, or cracks.
What is roll tempering and what is its purpose?
Quenching and tempering refer to the complete heat treatment process: heating the rough-machined roll blank in a furnace, holding at temperature, quenching, and then tempering. This process serves to:
(1) Achieve desired mechanical properties in the core and neck to meet rolling demands; it increases the yield ratio and improves fatigue life.
(2) Meet technical requirements for the roll neck, including hardness for bearing support; additional treatments apply for special needs.
(3) Prepare the structure for final heat treatment; high-temperature tempering promotes dispersion and dissolution of carbides.
(4) Improve the matrix structure, particularly the distribution of carbides.
What are the primary causes of mill roll spalling?
Spalling is a well-recognized issue in cold rolling and grinding operations. Main causes include:
(1) Thermal shock cracks from rolling accidents, leading to surface cracks or soft zones that expand if not removed by grinding.
(2) Subsurface fatigue cracks from contact fatigue during operation.
(3 Metallurgical defects such as inclusions or abnormal carbides that initiate fatigue spalling.
Which methods are used to test roll hardness?
Hardness is a key indicator of roll quality. Common methods include Rockwell and Vickers, which are indentation tests offering good stability. These are suitable for small components. For large forged steel rolls, Shore and Leeb hardness tests—which are rebound-based—are widely adopted due to the challenges in handling heavy workpieces.
What should be considered in roll hardness testing?
Hardness is an indirect property influenced by the roll’s internal structure, including matrix hardness, carbide type and amount, and residual stress. Since Shore and Leeb tests are rebound methods, results can be affected by instrument condition and operator technique.
It is advised that manufacturers and users assign dedicated personnel for hardness testing. Select stable hardness testers and establish correlation with other methods. Regularly calibrate equipment using standard test blocks. Where possible, use standard reference rolls for calibration.
The 5 Best Mill Roll Companies in the World
What is the purpose of surface metallographic testing?
Metals are generally polycrystalline. For typical forged steel rolls, the unquenched body consists of ferrite and carbides. During quenching, high-temperature heating transforms ferrite and some carbides into austenite, with some undissolved carbides retained. After quenching, martensite and residual carbides are formed. The morphology and amount of these structures vary with processing.
Metallographic analysis uses a microscope to examine specially prepared samples, revealing information about material, process, and performance. For non-destructive testing, rolls are polished, etched, and directly examined on-site with a portable microscope.
How should roll users conduct purchase and acceptance inspection?
The internal quality of rolls—largely determined during manufacturing—significantly affects performance. When purchasing, verify the supplier’s manufacturing capability and quality system to ensure process control. Communicate thoroughly to agree on technical specifications.
Acceptance tests may include surface hardness, ultrasonic inspection, metallographic examination, and dimensional checks, depending on the user’s equipment and expertise. Professional testing services can be employed. For most users, measuring key dimensions and body hardness is recommended.
What are common quality issues with mill rolls during use?
① Pitting: caused by poor strip weld quality or embedded foreign material.
② Roll sticking: due to excessive reduction, cobbling, folding, poor strip shape, or low roll hardness.
③ Cracking: from localized overheating, stuck rolls, high pressure, poor cooling, or coarse debris.
④ Roll marking: inconsistent pressure across roll body, strip waviness, misalignment, or low hardness.
⑤ Large-area spalling: results from micro-cracks propagating into fatigue cracks under cyclic stress.
⑥ Surface loss: micro-cracks, severe overheating, or large inclusions that develop under rolling stress.
⑦ Annular cracks at roll ends: caused by severe uneven loading or poor quenching.
⑧ Bearing seizure: poor lubrication, delayed oiling, seal failure, or severe end pressure.
⑨ Roll breakage: high internal tensile stress, central defects, severe pressure deviation, or thermal stress.
What are common types of damage to backup rolls?
Five common types include:
① Indentation from uneven chill or hardness;
② Roll sticking due to broken belts or uneven cooling;
③ Surface fatigue cracks from extended rolling;
④ Spalling from crack growth not removed by grinding;
⑤ Vibration marks or arc grooves from improper work roll interaction.

